Aug 2014
Aug 2014
This data was downloaded at the end of June 2014, in time for our first Datascience Meetup in Jersey (ideally it'd be a dynamic, rather than static, dataset but I wasn't prepared to pay for a subscription at this point). There are 3 datasets, each pertaining to a different hashtag. You'll see the genius of Snickers' marketing campaign, during the 2014 World Cup, with their Luis Suarez tweet.
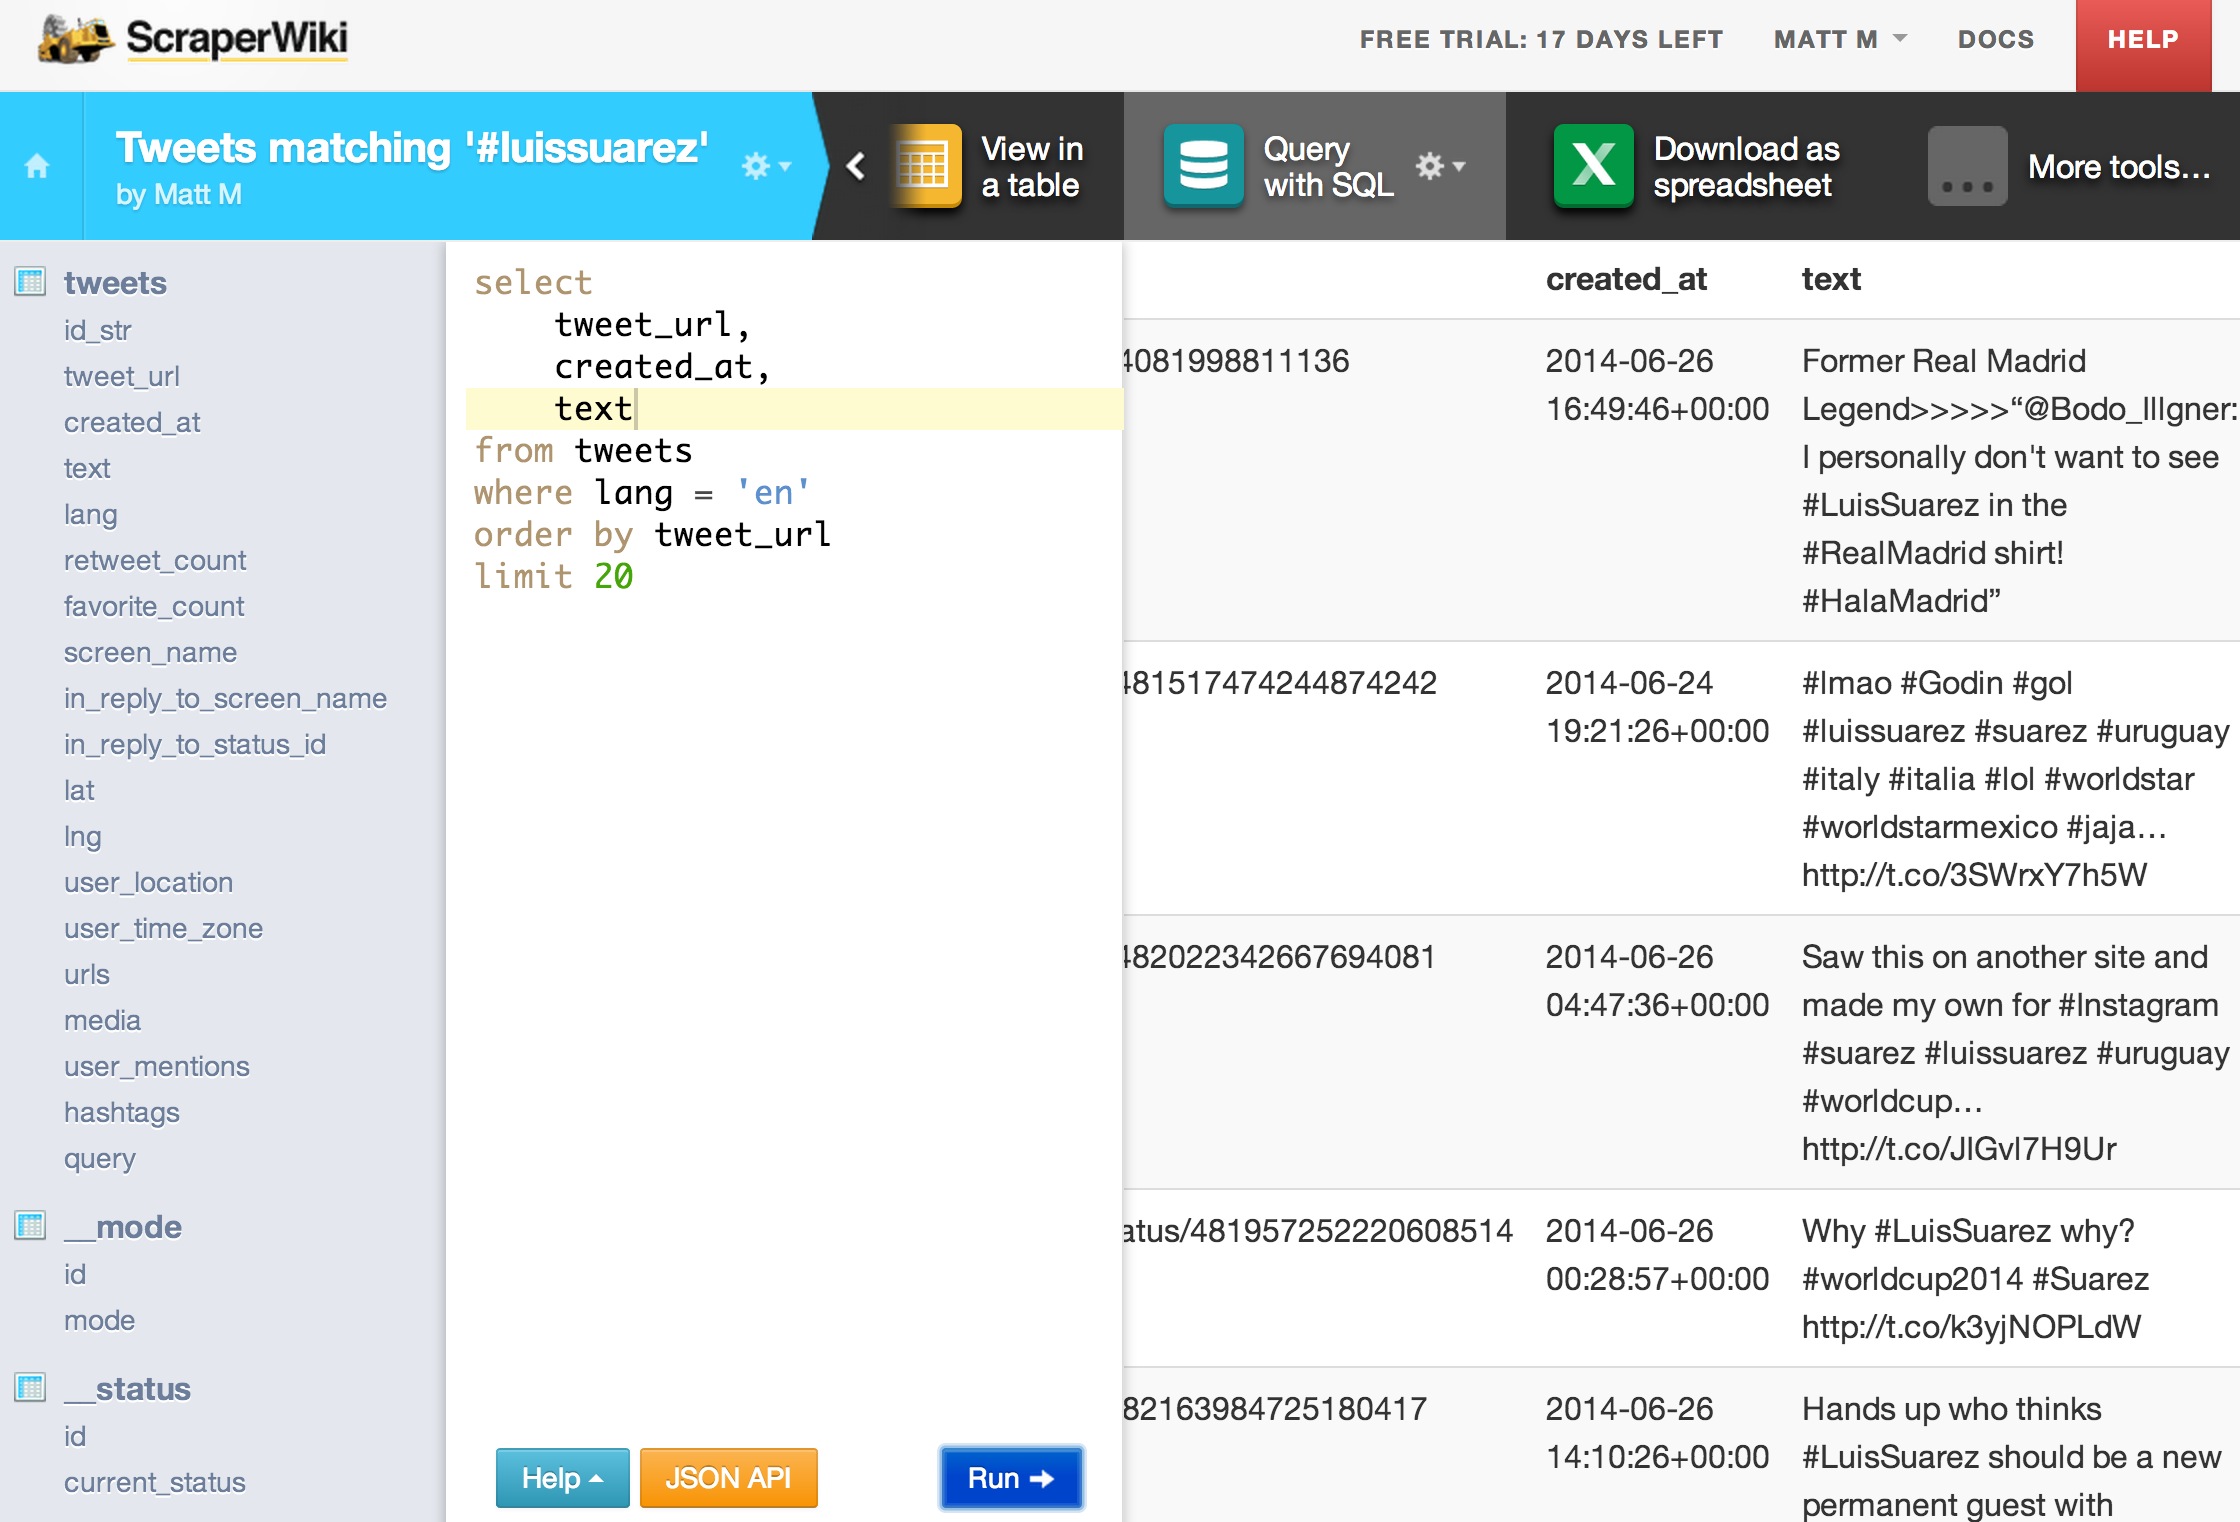
I signed up for a free 30 day trial with ScraperWiki- a site which 'scrapes' tweets from the past week - and immediately got to work, scrapping tweets hashtagged with #d3js, the official d3.js hashtag. After about a 5(ish) minute wait the data was ready for download as either an excel file or by a direct query through the ScraperWiki api. Since I knew that my trial account would expire in a month, and I didn't want my webpage to stop working after the trial had finished, I just downloaded a csv file of the values.

The data is already very clean (which makes a nice change when it comes to data projects) and I only had to remove retweets (leaving the original tweet, of course); the data was then converted to JSON using a handy little webpage called convertcsv.com.
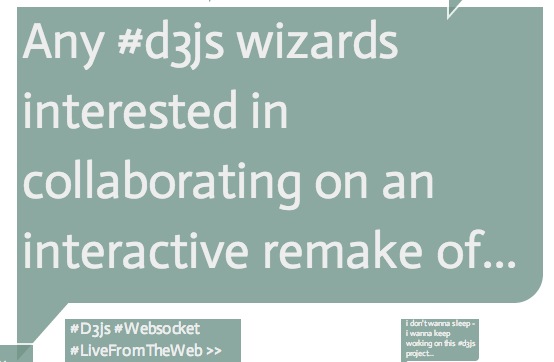
I wanted to display the tweets in speach-like bubbles, the sort you get in comic strips. To create the bubble I just needed to draw the correct SVG path and, of course, you can draw anything with d3.js, so this framework was my prefered weapon of choice. You can read more about SVG paths here. My simple method to map these shapes is as follows:
// Returns path data for a rectangle with rounded bottom right corner, and a little speach bubble
// The top-left corner is [x,y].
function tweetRect(x, y, rectWidth, rectHeight, rectRadius) {
return "M" + x + "," + y + "h" + rectWidth + "v" + (rectHeight - 1 * rectRadius) + "a" + rectRadius + "," + rectRadius + " 0 0 1 " + -rectRadius + "," + rectRadius + 'L' + (x + (rectWidth * 0.1)) + ',' + (y + rectHeight) + 'L' + (x + (rectWidth * 0.0)) + ',' + (y + (rectHeight * 1.2)) + 'Z';
}
Which creates a path that looks something along the lines of:
<path class="tweets" d="M288,364h264v134.09a14.9,14.9 0 0 1 -14.9,14.9L314.4,513L288,542.8Z" style="opacity: 0.7; stroke: rgb(255, 255, 255); stroke-width: 1px; fill: rgb(119, 186, 239);"></path>Once the bubbles were drawn it was time to add the text. On my first iteration I used the SVG text property, which is a bit of a drag as it doesn't automatically handle line breaks and I therefore had to write extra code to do this menial task (though there is talk that the next version of d3.js will handle line wrapping for us). For reasons explained later I had to do away with the SVG text, so my second iteration appended XHTML div elements to the graphic and the text was added to these divs. Being text in a div, the wrapping was applied automatically and I used a javascript library called dotdotdot.js to add an ellipsis to the end of the tweet, if the text didn't fit within the bounds of the div element.

Armed with the tools to create the tweet bubble the next stage was to lay it all out on the page. I took a very simple approach here and assigned a random location to each tweet and plotted them, starting with the 'biggest' tweet, so that it wouldn't obscure the smaller ones. This looked OK but a bit too messy for my liking so I then enforced a discrete (rather than continuous) set of coordinates for the location, which meant that the tweets were arranged in a subtle grid pattern. To stop the bigger (and more important) tweets having a load of other tweets plotted on top of them, I introduced a property called 'sacred ground' whereby a tweet couldn't be plotted on 'sacred' coordinates (i.e. where an important tweet had already been plotted). I still needed to take performance into consideration and as I didn't want the code excessively (potentially infinitely) iterating over its search space to find the perfect place for a tweet, I have allowed some overlapping when a free space isn't readily available. This is the weakest feature of this plot; I'm not entirely happy with the layout of the tweets and if the mood takes me, I may come back and spend an afternoon implementing a more visually pleasing (and more computationally efficient) packing method. As with many things though, this code worked for my proof-of-concept and was all that was needed to help me discover new tweets.
Interactivity is an important consideration in all charts but it can be hard to make it obvious to the user how the chart may be played with (without using ugly descriptions or enforced tutorials), but a good place to start is with the mouseover event. Many users will just hover over a chart to see what happens (and those that don't, may even do it accidentally when moving around the page). As soon as they realise that there is hover behaviour they are much more likely to explore for more interactivity, starting with a click - especially likely in this case as the pointer turns to a clicky hand when over a tweet, thanks to the following CSS rule, acting on the SVG tweet bubble elements created earlier:
.tweets {
   cursor: pointer;
}
It's really great when you can reduce the friction of exploring data, which is why I hooked up the mouseover event to show (in a pop up) the entire text along with the user handle, retweet and favourite count. These values are part of the JSON dataset used to plot the tweets and merely needed to be retrieved on the event call. I mentioned earlier that using an SVG text element for the tweet text didn't work so well - a simplified explanation of this is that as the mouse hovered over the text (and crucially, in-between characters) the mouseout event is triggered and then the mouseover event is triggered as the next character is under the pointer. I wasn't 100% happy with some behaviour that resulted from this and ended up using the XHTML div approach instead. The onclick event fires off the tweet ID to the twitter api and gets back some html which can then be formatted to an embedded tweet. This is really nice as it will display images, link hashtags and even let you RT or star the tweet (note that the stats of the embedded tweet are up-to-date, compared to the static data used for the popup data). Ideally I'd have this embedded tweet showing on hover but the time taken to call the API is noticeable on slow connections and doesn't make for a nice user experience.