Nov 2015
Nov 2015
After upgrading to El Capitan the Apache server on my MacBook has stopped. Again. This happened back in the day when I upgraded to Mavericks and Yosemite. After a couple of hours of trying to get it going again I decided to cut my losses and use a different webserver. 2 minutes later and my laptop is happily serving webpages again.
First of all, we want to stop Apache and also disable it from firing up when we reboot. Launch a terminal window type the following (without the $):
$ sudo launchctl unload -w /System/Library/LaunchDaemons/org.apache.httpd.plist This will stop a running instance of Apache, and record that it should not be restarted. It records your preference in /private/var/db/launchd.db/com.apple.launchd/overrides.plist
Now all we have to do is start a webserver using Python. On El Capitan, Python 2.7.9 comes installed as standard. Open up a terminal window and CD into the directory that you want to host, then type the following (again, without the $):
$ python -m SimpleHTTPServer 8080This will host your files on port http://localhost:8080/ (feel free to change the port number though).
To have the python webserver startup automatically create a file called webserver-8080.sh, with the following contents:
cd ~/Sites/my_awesome_website
python -m SimpleHTTPServer 8080
This file will startup the HTTP server. We also need a second file, a Unix executable file, to run at login which will call the script that we've just created (note that both of my files are in a home directory called Scripts). Create a file called ninjaPixel-webserver (note that there is no file extension) with the following contents:
~/Scripts/webserver-8080.shNext set the permissions on the new files by CDing into the Scripts directory and executing:
$ chmod 711 webserver-8080.sh
$ chmod 711 webserver-ninjaPixel
Test that this is working by opening a finder window and navigating to the Scripts directory and double clicking on the file to execute it. Visit http://localhost:8080/ in your browser to confirm your website is up and running.
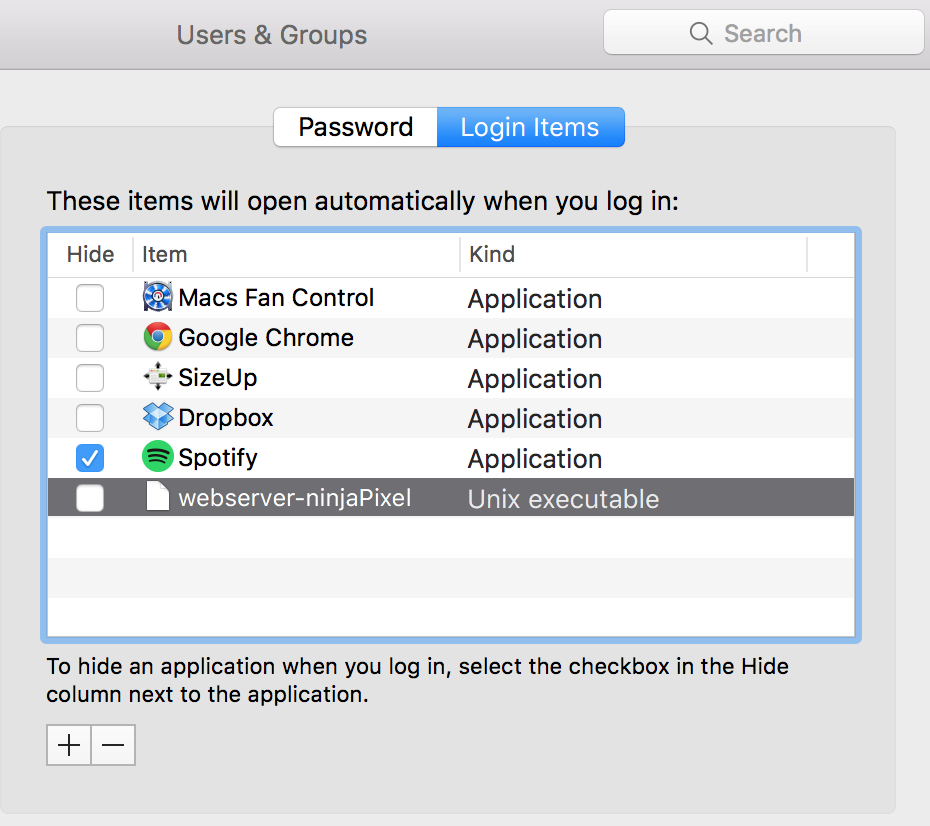
Finally go to Settings > Users & Groups > Login Items and add the webserver-ninjaPixel file to the list of login items. And there we have it, you'll have a webserver on startup.
